|
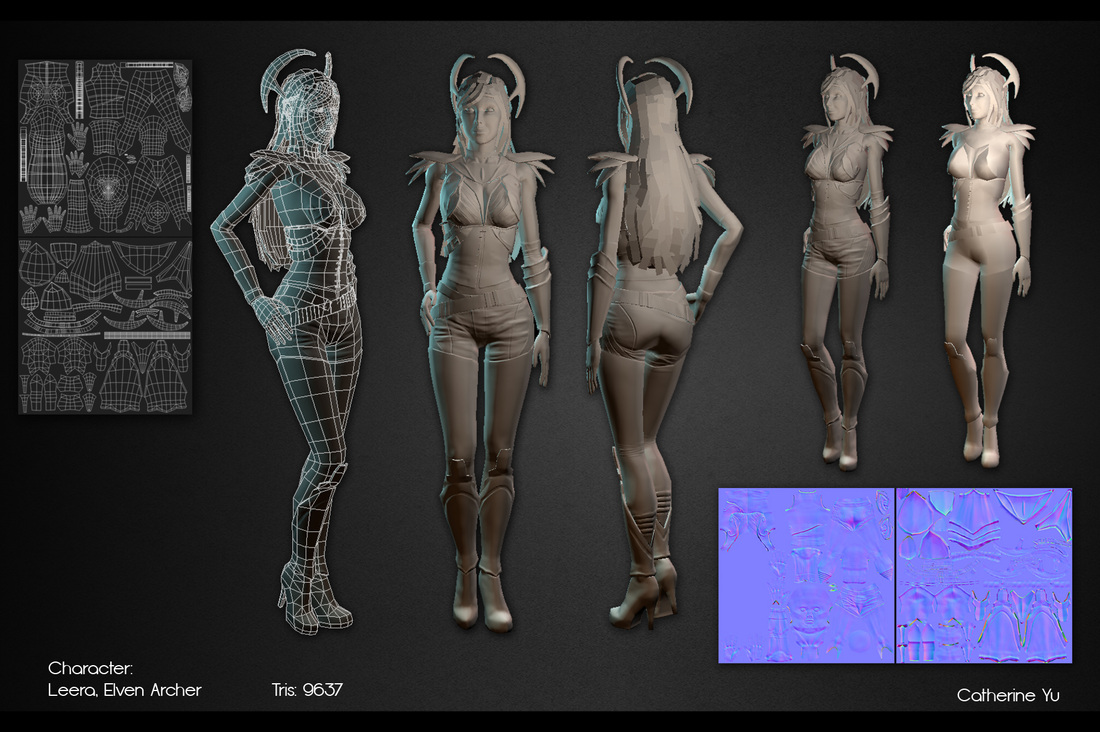
This was the result of my Character Modeling I final (in which we were not required to have the texture).
This is my first attempt at the particular process of working in Zbrush. I imported my base mesh, sculpted into a high poly mesh, then tried to create a normal map on my base mesh in Maya to display the high poly details. Given my particular model, the normal map didn't look great at all, so I instead used Decimation Master (Zbrush plugin) and Transfer Maps in Maya to give me more detailed, clean results. I had a lot of issues with decimation master in regards to how I sculpted - it wasn't the cleanest sculpt, and I believe I moved the mesh around too much.. It ended up making the mesh look pretty nasty in some parts and fixing it proved to be incredibly time consuming and nerve wracking. Next time I will just have to build on the sculpt and try not to alter the original shape too much. Also, will have to keep a look out with Maya's renderer - seemed to be buggy when I was trying to see the normal mapped model.
0 Comments
|
Kat's BlogJust some of the latest, random things I'm working on Archives
May 2024
Categories |

 RSS Feed